Hi !! Most girls love a wedding right ? I have started another blog all about weddings !! You will find great inspiration from shoes to dresses and Ceremonies to Reception
I would love for you to share photo's of your wedding day, flowers, cars, dresses everything. Its nice to see real photos not just some image in a glossy magazine.
I am also looking for wedding horror stories to share with others.
Make sure you have a look at the blog, contact details are located at the top of the wedding blog page :)
http://amoderngirlswedding.blogspot.com.au/
Saturday, 28 April 2012
Tuesday, 24 April 2012
Colors available !
These are the colours that I have available for my hats :)
Colours available - Colours may be slightly different depending on computer screen
I have tried my best to describe the colours and as you can tell i am hungry ;)
I have tried my best to describe the colours and as you can tell i am hungry ;)
2nd row left to right - Baby Blue, Cornflower Blue,Light Denium, Dark Denium, Navy, Dark Navy, Pale Mint Green, PaleTeal, Teal
3rd Row - Apple Grren, Olive Green, Pine Green, Christmas Green, Lavender, Dark Lavender, Dusty Purple, Deep Purple,
Bottom Row - Peachy, Musk Stick Pink, Bright Pink,, Red, Maroon, Dark Grey Light, Dark Grey

Friday, 6 April 2012
Yarn Giveaway !
8000 fans on my Facebook page ! Wooo Hooo !!!
bobwilson123 facebook page
To celebrate this big milestone there is going to be a yarn giveaway
400 gms/smidge over 14 oz ..
Angie from Angie's Studio is donating 200grams of yarn. I will be putting another 200grams plus postage.
1 lucky winner will win 400gms of yarn shipped to anywhere in the world !!
To enter the giveaway go to this link and comment on the photo with your favourite colour combinations
YOU MUST LEAVE YOUR COMMENT ON THE PHOTO IN THE LINK BELOW - NOT A COMMENT ON THIS BLOG POST
http://www.facebook.com/home.php?ref=hpskip#!/photo.php?fbid=172463366139720&set=a.172463362806387.52166.172462949473095&type=3&theater
The competition will run for 1 week only
Sunday, 1 April 2012
CROCHET BASIC BEANIE – HALF DOUBLE CROCHET - Free written Pattern and video tutorial
CROCHET BASIC BEANIE – HALF DOUBLE CROCHET
Directions given for multiple sizes
Pattern Designed by bobwilson123

Supplies needed:
-Yarn of your choice
-Crochet hook (use hook size according to yarn choice)
-Tapestry needle
-Stitch marker
Stitch abbreviations used in this pattern:
CH – Chain
SC - Single crochet
HDC – Half double crochet
SL ST – Slip stitch
ST – Stitch
Note: Hat is worked in the round and not by joining after each row.
To start, attach a slip knot to your hook.
CH-5, SL ST into first CH to make a ring.
CH-5, SL ST into first CH to make a ring.
Round 1: CH-2, 6 HDC into the ring, DO NOT JOIN,
{note: if you find that 6 HDC is too tight, you can use 12 HDC, it won’t make a difference to the pattern, it will just make your hat flat at the top instead of pointy}
INSERT STITCH MARKER HERE,
Round- 2:work 2 HDC into first HDC, now 2 HDC in each stitch around until you reach the stitch marker, (12 HDC) move stitch marker up,
Round- 2:work 2 HDC into first HDC, now 2 HDC in each stitch around until you reach the stitch marker, (12 HDC) move stitch marker up,
Round 3: *1 HDC into next stitch, 2 HDC into the next stitch* Repeat from * to * around until you reach your stitch marker. Ending with 2 HDC in same stitch (ALWAYS on an increase round). Move your stitch marker up.
Round 4: *1 HDC into next 2 stitches, 2 HDC into the next stitch* Repeat from * to * around until you reach your stitch marker. Ending with 2 HDC Move your stitch marker up.
Round 5: *1 HDC into next 3 stitches, 2 HDC into the next stitch* Repeat from * to * around until you reach your stitch marker. Ending with 2 HDC Move your stitch marker up
Round 6: *1 HDC into next 4 stitches, 2 HDC into the next stitch* Repeat from * to * around until you reach your stitch marker. Ending with 2 HDC Move your stitch marker up
Round 7: *1 HDC into next 5 stitches, 2 HDC into the next stitch* Repeat from * to * around until you reach your stitch marker. Ending with 2 HDC Move your stitch marker up
NOTE: You will continue to increase each row until you have the size desired for your hat. -DEPENDING ON HOW BIG YOU NEED YOUR HAT WILL DEPEND ON HOW MANY INCREASE ROWS YOU NEED. YOU WILL KEEP INCREASING UNTIL THE HAT CIRCUMFERENCE IS ½ INCH/2CM SMALLER THAN THE CIRCUMFERENCE OF THE HEAD YOU ARE MAKING IT FOR
If you are using worsted weight 4ply yarn you will need a different amount of rows. The following is for 8ply/DK yarn and a 4mm hook
Baby size would be around 8 rounds.
Example: *1 HDC into next 6 stitches, 2 HDC into the next stitch * Repeat from * to * around until you reach your stitch marker. Ending with 2 HDC
Example: *1 HDC into next 6 stitches, 2 HDC into the next stitch * Repeat from * to * around until you reach your stitch marker. Ending with 2 HDC
For a regular adult hat with a 4mm hook it is around 10 rounds.
Example: Round 10: *1 HDC into next 9 stitches, 2 HDC into the next stitch* Repeat from * to * around until you reach your stitch marker. Ending with 2 HDC
Example: Round 10: *1 HDC into next 9 stitches, 2 HDC into the next stitch* Repeat from * to * around until you reach your stitch marker. Ending with 2 HDC
Once your hat is big enough to fit the crown of your head or for the person you are making it for, you will stop with the increase rounds.
For sizing hats: http://www.bevscountrycottage.com/size-chart.html#hat
TO FINISH YOUR HAT
-Move stitch marker up,
1 HDC in each stitch around. Continue to move your stitch marker up with each round until your hat is the desired length.
In last stitch, SC and then SL ST across the next 2 stitches for a nice finish. Fasten off and sew in tail on inside of hat to hide.
Make sure to sew in tail from beginning of round 1.
In last stitch, SC and then SL ST across the next 2 stitches for a nice finish. Fasten off and sew in tail on inside of hat to hide.
Make sure to sew in tail from beginning of round 1.
CROCHET DOUBLE CROCHET AND SHELL BEANIE - Free written pattern and video tutorial
CROCHET DOUBLE CROCHET AND SHELL BEANIE

Thank you Belinda for your AWESOME photo !
Video tutorial and free written pattern can be found here
Wednesday, 28 March 2012
Our Yarn Exhibiton at Trainworks
FOr the last 6 month the Crochet and Knitting group that I am the President of have been working very hard on completeing a yarn exhibition to be held at our local steam train museum. Stram trains and yarn dont mix I hear you say ! We were approched by the museum to create items that told the storys of the trains and also to add a bit of 'colour and fun' to the stuffy olf museum - their words not mine
Please enjoy some of the photos taken on the day there were over 100 great pics taken on the day
HUGE thank you to my ladies that were involved in helping, sewing, crochet and knitting


My beautifull ladies that helped out on the day
There are ladies that couldnt make it that also helped with the crochet and knitting :)

Buffer covers made by Tania

Birds made by Win and catapillar made by Robin

Buffer covers made by Tania
up close they look like eyes and they even have eyelashes

Lady bug made by Tania

Eileen helping with the construction of the vines

Spders made by Tania

Criochet frothy beer by Bronwyn

Toast by Peggy
Sugar cubes by Bronwyn

Sald was a group effort

Getting organised

The Jail van has a maniquin so he got handcuffs made by Dawn and Cup of coffee made by Tania
ham sandwich and a banana

busy busy

Maggie and Michelle doing what they do best .. laughing !

Group effort on the fruit

It looks so real !

cupcakes anyone ?
Made by Katie and plate made by Robin
Plate trim added with wire by Clare (thats me )

One slice or 2 ?
Cake made by Ruby and biscuits made by Eileen
Placte amde by Tania and trimmed by Clare (thats me )

Dawn made this FAB Tartan scarf and was over 3 meters long

Stand around long enough and they will decorate you too :)

I made the tiara ! This train makes this 50cm x50cm tiara look so small :)

having fun at the opening cutting the YARN !

Win

Tania

Ruby

Robin

Renate

Maggie 84years young might I add and the cheekiest one of all :)

Flo
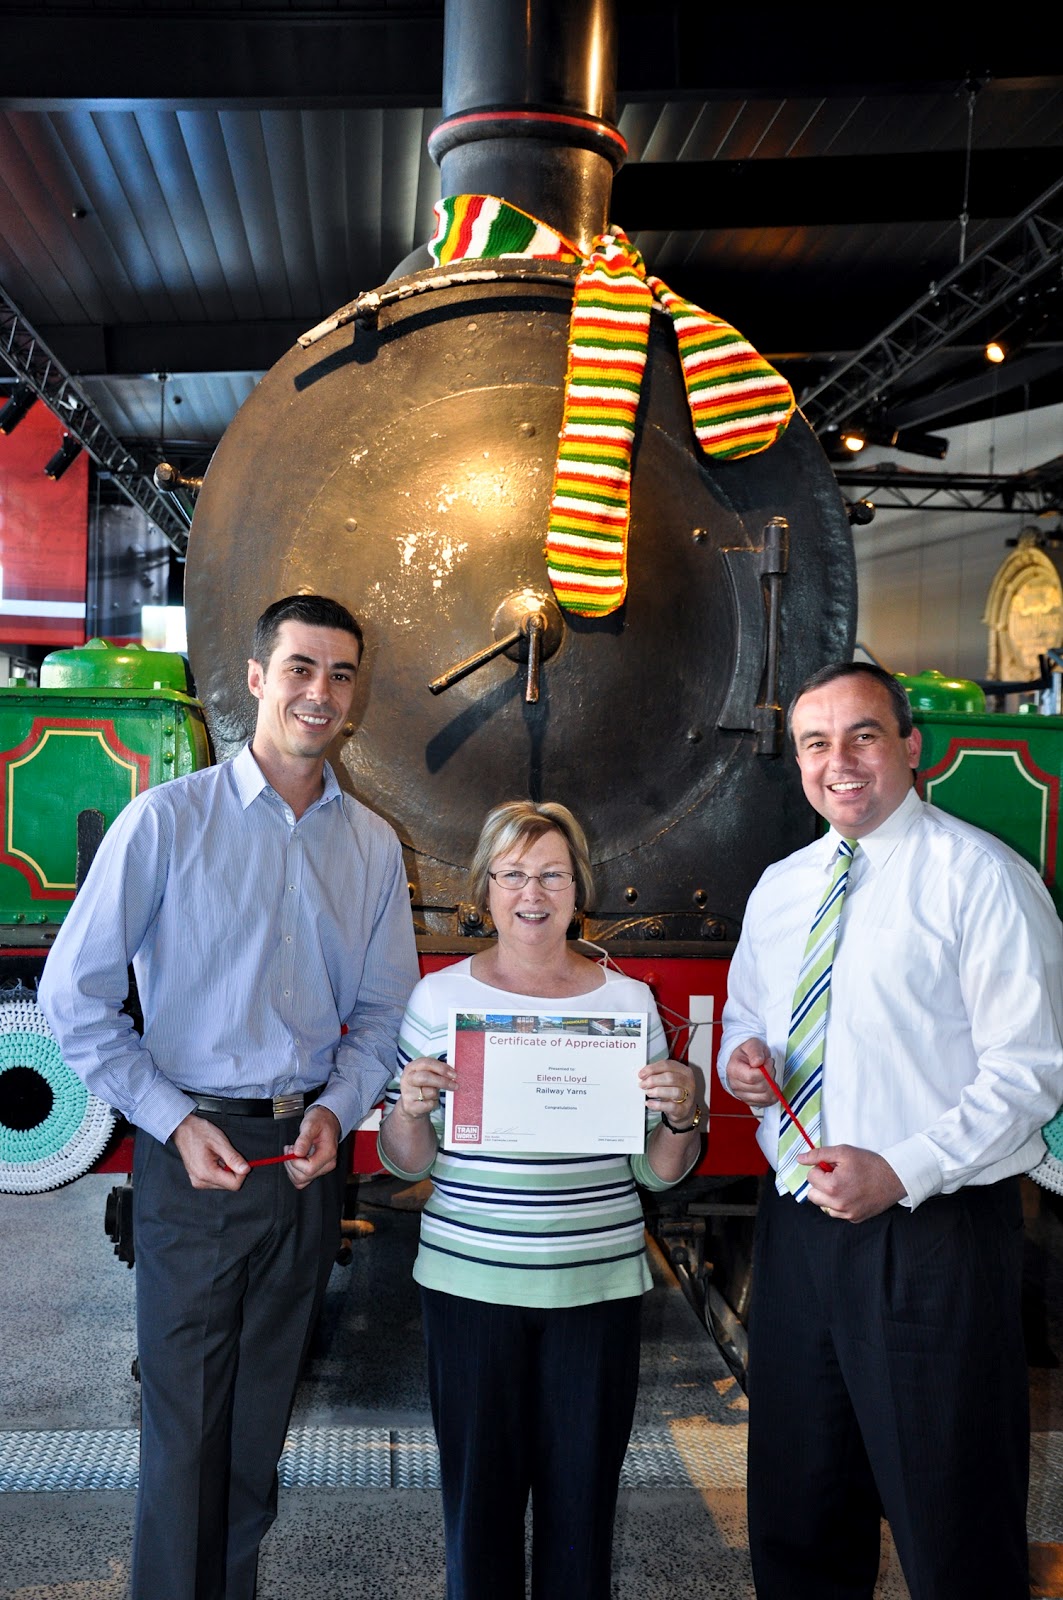
Eileen- made over 100 leaves for the vines !!! And more !

Beverly

Dawn

Clare (me) Presidentay !

Bronwyn - Vice presidentay

Not sure what happened here

But it sure was funny !

Mmmmm bacon and eggs !!
Made by Robin
They cooked them on the shovel over the fire from the engine

Items made by Robin, Bronwhy, Tania, Win

Michelle installing the birds nest

Win made the birds and the nest :)
Sunday, 18 March 2012

Crochet Bag Bag video tutorial and written pattern
A Bag Bag - Bag Holder-This bag is for holding all of your grocery store plastic bags for storage and reuse!
Designed by Clare Sullivan
Converted into written format by Daisy
Video Tutorial and free written pattern

Granny Square Sttich Baby Poncho - Free written pattern and video tutorial
Granny Square Stitch Baby Poncho
Designed by bobwilson123
Converted to written pattern by Daisy

Video tutorial and free written pattern can e found on my website
Sunday, 26 February 2012
Crochet Icord - Written pattern and video tutorial
Most of us would have heard of the Knitted Icord, Yes ? Well you can also crochet one !

YOUTUBE VIDEO TUTORIAL LINK: http://www.youtube.com/watch?v=sQtTA4g2QqQ
WRITTEN PATTERN IN PDF
FORM:
1- Go to the FREE DOWNLOADS bobwilson123
folder that is located on the left hand side and find the pattern you want.
2-Click add to cart. When you have all the
patterns you want to download, click checkout. You will have to sign up to the
website, but you only have to do this once.
3- Select PAYPAL as the payment (don’t
worry its free, but you have to select a PAYPAL for it to work ) and then
process the purchase.
4- After it has processed go to MY ACCOUNT
and it will be under download
A BIG Thank you to Wendy for allowing my
to have them on her website
PDF WRITTEN PATTERN LINK:
Icord instructions:
a) Ch 3, go into 2nd ch from hook, pull up loop, go into 3rd ch, pull up loop.
b) Remove 1st two loops from hook and hold them.
c) Ch 1, put next loop you’re holding back on hook, ch 1, put last loop you’re holding back on hook, ch 1. You should end up with 3 loops on your hook.
d) Repeat steps b & c until you reach the desired length.
e) Yarn over and pull through all 3 loops to fasten off. Weave in ends.
Tip: to tighten the icord, pull up on 2nd loop on hook and then pull 3rd loop as you work.
Thursday, 23 February 2012
Friendship Afghan - Written Pattern and Video Tutoiral
Friendship Afghan
Designed by Bobwilson123
Designed by Bobwilson123
Converted into written pattern by Daisy

free video tutorial and free written pattern
Crochet Earwarmer / Headband - Written pattern and Video tutorial
How to Crochet an Ear warmer with button up back
Designed by Bobwilson123


Subscribe to:
Posts (Atom)